
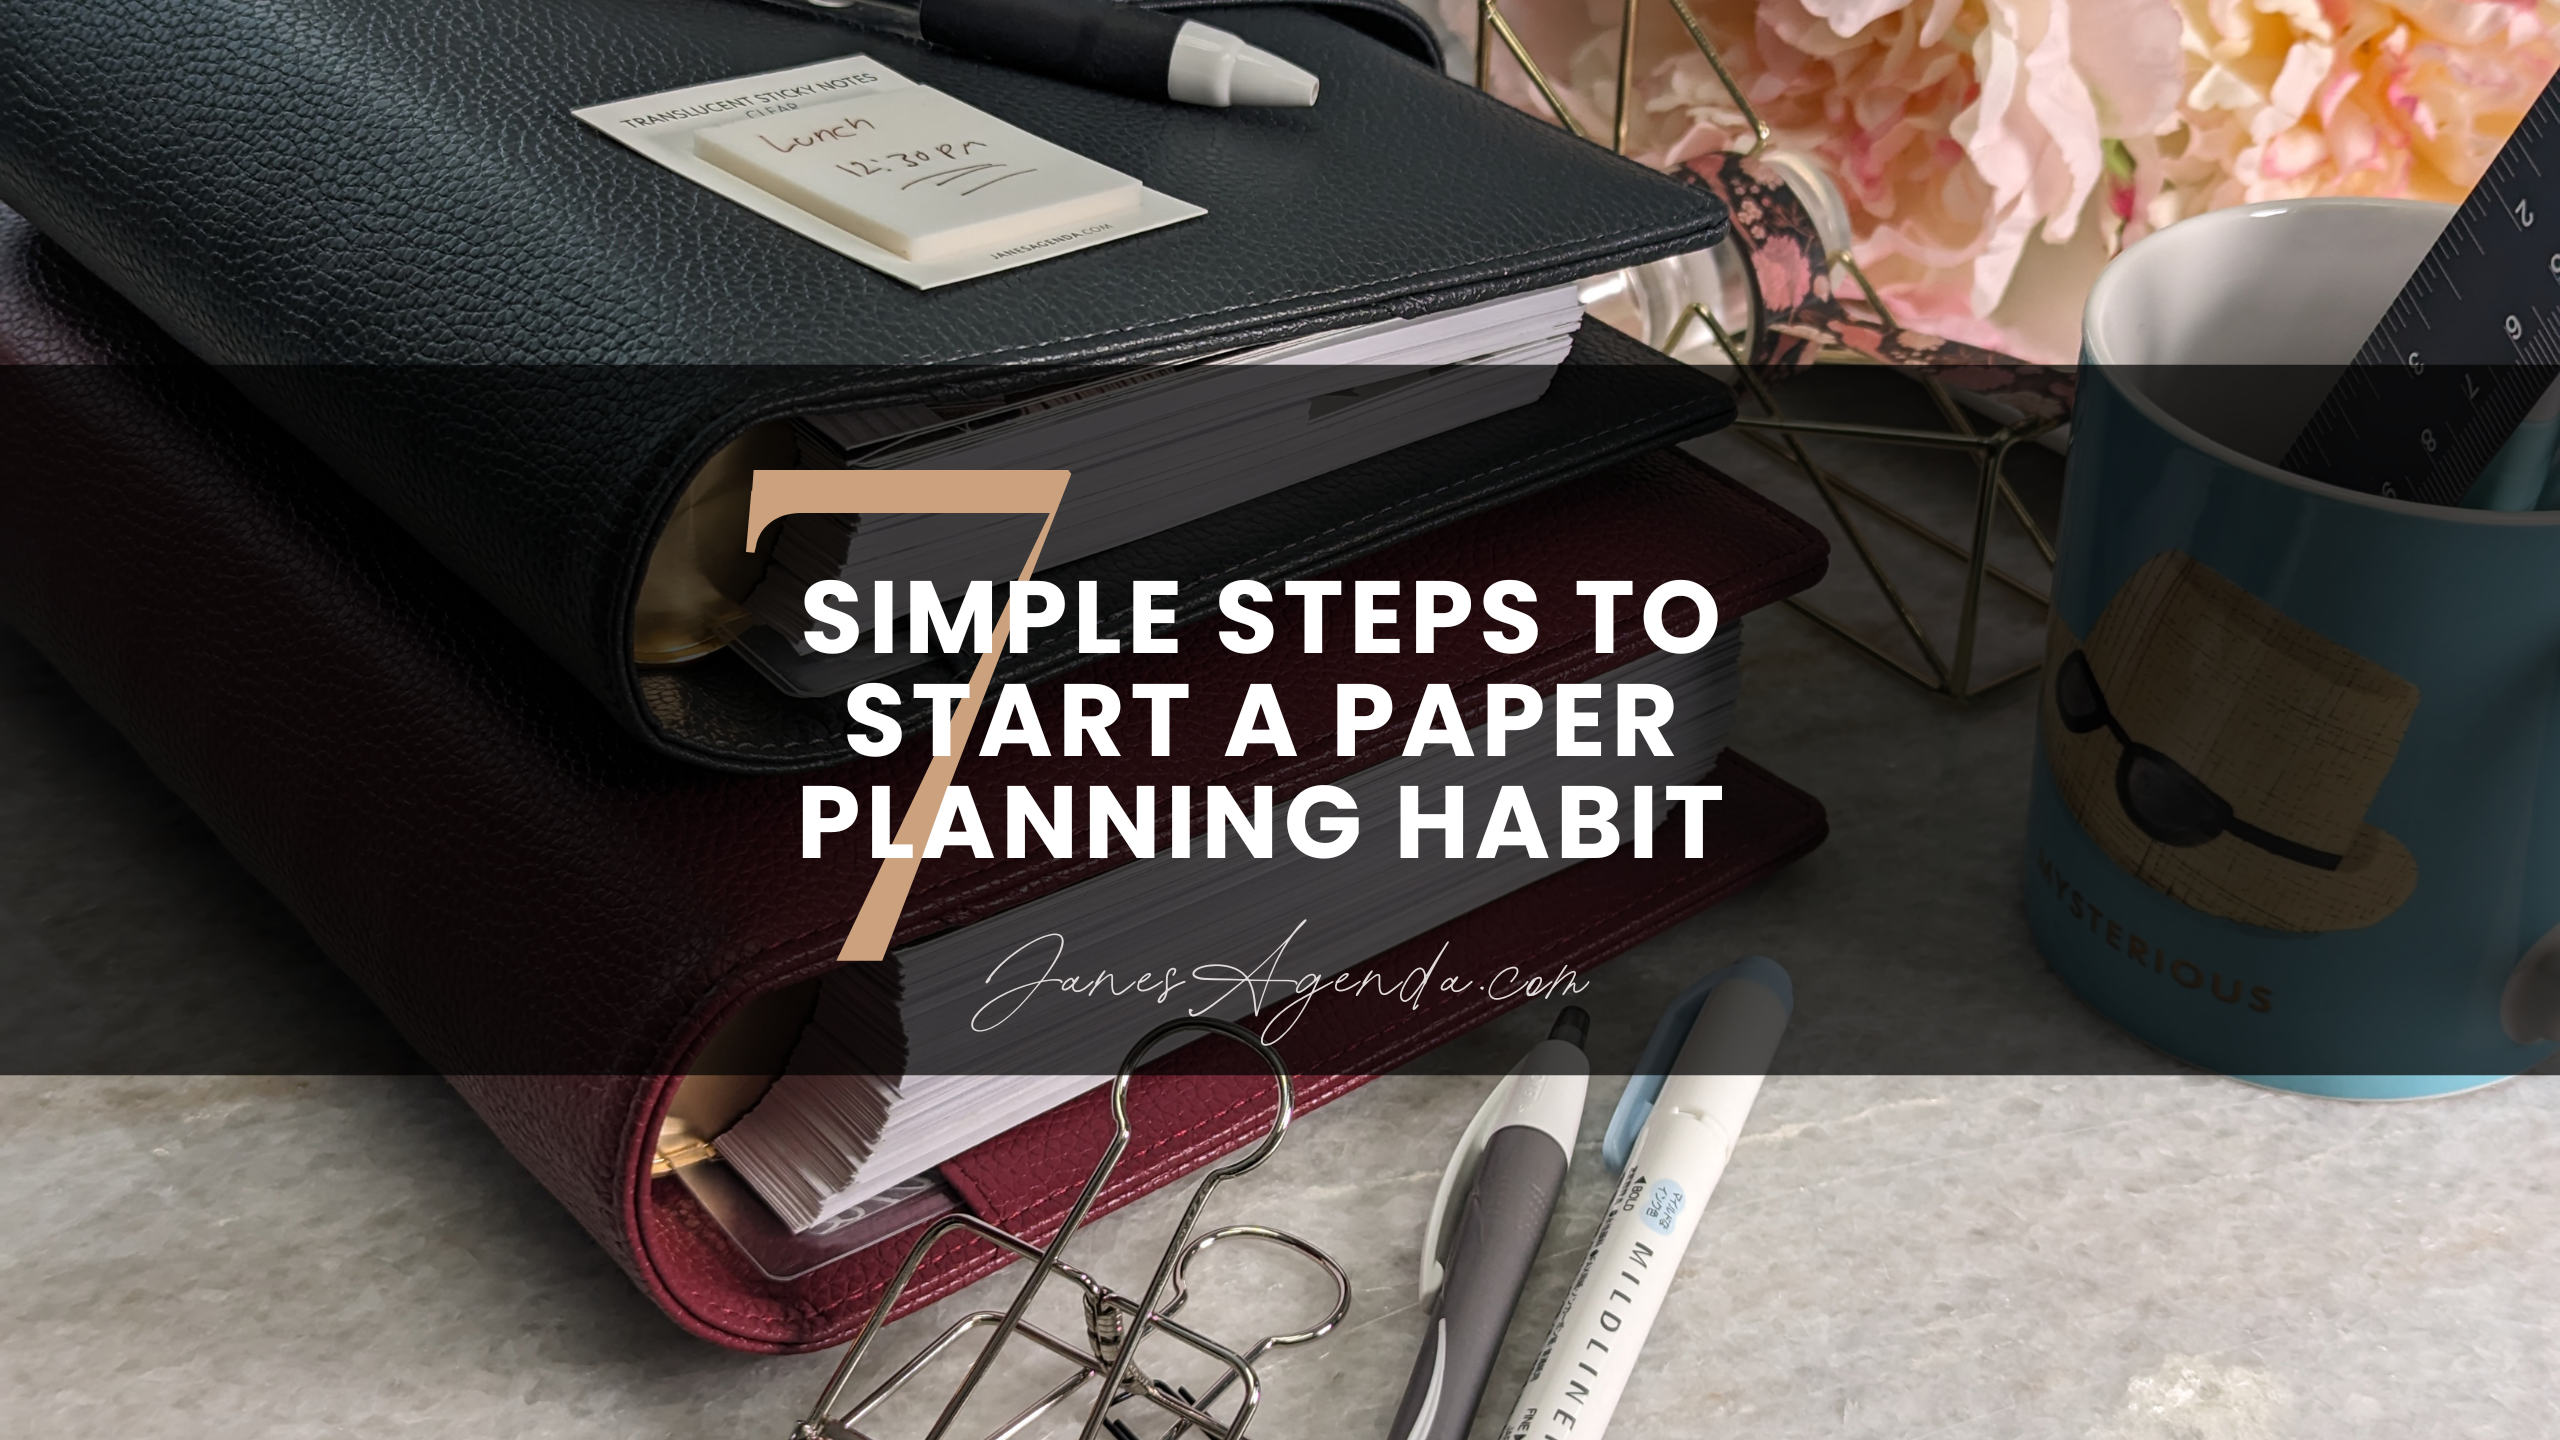
Starting a paper planning habit can seem overwhelming at first, but with a structured approach, you'll find it can quickly become a powerful tool for organization and productivity. If you’re new to planning or looking for a fresh start, this guide will walk you through seven simple steps to build a lasting paper planning habit.
1. Understand Why You Want to Plan
Clarify Your Planning Purpose
Before diving into planning, ask yourself these questions:
- What are my primary goals with planning?
- Do I want to improve productivity, track habits, or manage appointments better?
- Am I seeking a creative outlet through journaling and planning?
Set Clear Objectives
Knowing your purpose will help guide your planning journey:
- Productivity: Create structured to-do lists and schedules.
- Goal-Setting: Develop a vision board and set long-term goals.
- Wellness Tracking: Monitor habits, moods, or fitness goals.
2. Choose the Right Planner
Understand Planner Types
- Daily Planners: Focus on daily schedules and tasks.
- Weekly Planners: Provide a week-at-a-glance view.
- Monthly Planners: Great for long-term planning.
- Combination Planners: Include both weekly and monthly spreads.
Layouts Matter
- Vertical Layout: Each day is shown as a vertical column.
- Horizontal Layout: Days are laid out as rows.
- Bullet Journal: Fully customizable, allowing you to create your own structure.
3. Set Up Your Planner
Start with Basic Information
- Index/Key: Organize symbols or color codes.
- Personal Information: Add your name and contact details.
Add Calendars
- Yearly Overview: Mark key dates like holidays and birthdays.
- Monthly Calendar: Plan high-level goals for the month.
- Weekly Layout: Outline appointments and tasks.
Define Your Goals
- Short-Term: Goals for the month or quarter.
- Long-Term: Goals for the year or beyond.
4. Create a Planning Routine
Daily Planning
-
Morning:
- Review your to-do list and set priorities.
- Note any appointments or key tasks.
-
Evening:
- Reflect on what you accomplished.
- Plan tasks for the next day.
Weekly Review
- Review your accomplishments and unfinished tasks.
- Set new weekly goals and update your calendar.
5. Personalize Your Planner
Add Creative Elements
- Stickers and Washi Tape: Decorate your pages with colorful stickers and washi tape.
- Quotes and Affirmations: Add motivational quotes for positivity.
- Color Coding: Use colored pens to categorize tasks.
Trackers and Inserts
- Habit Trackers: Monitor daily habits.
- Expense Trackers: Keep track of your budget.
- Health Trackers: Log exercise or meal plans.
6. Experiment with Different Planning Styles
Task-Based Planning
- Focuses on to-do lists and prioritization.
Time-Blocking
- Breaks down your day into dedicated time slots.
Bullet Journaling
- Offers flexibility with completely customizable layouts.
7. Stay Consistent and Adaptable
Building the Habit
- Start Small: Begin with just a few minutes a day.
- Find a Routine: Plan at the same time every day.
- Reflect Regularly: Weekly reviews will help you stay on track.
Overcome Common Challenges
- Planner Overwhelm: Don't overcommit with too many tasks.
- Planner Guilt: If you miss a day, don't stress. Simply pick up where you left off.
- Changing Needs: Adjust your planner style or layout as your life changes.
Conclusion
Starting a paper planning habit can greatly improve your productivity and organization. By following these seven simple steps, you'll be well on your way to building a consistent and fulfilling paper planning routine. Remember to be patient and flexible as you refine your planning style, and soon you'll see the positive impact it has on your life.